I am finally ready to share my DIY finished floors with you!!
Truthfully, my floors have been finished for a while now but I’ve been procrastinating writing this blog post because I knew it would be a super long one. I’ve taken tons of pictures and I have a lot of information to share and so that is why I just decided to break this post up into 3 parts. Today in Part 1 I wanted to share more of the story behind painting my floors and then I’ll be back soon for a Part 2 where I’ll share a How-To and then finish with a Part 3 and share pictures of how the room now looks with the newly finished floors plus a new paint color on the walls as well as a few other changes.

So above is a picture of what our wood floors looked like before.
I believe these wood floors are original to our 1924 home and as you can see in the above picture there has been some patchwork done at some time. We’re thinking maybe there was once an addition added to our home where they extended the sunroom out a couple of extra feet.
If only walls floors could speak, right? 🙂
These wood floors are all throughout the main living areas of our home, and I believe that they are Oak or maybe Pine, but I honestly don’t know my wood that well to tell you for sure.
Looking back, it would have been nice to have refinished the floors prior to us moving in seven years ago, but it wasn’t that much of a priority to me at the time. I was just really happy to have wood floors after living in a home with just carpet.
It actually wasn’t until the day that my husband told me that he really didn’t like our floors because they were so orange. He said that they reminded him of a gym floor.
LOL
Well after he said that then that was all that I could see too, Orange Gym Floors!
And so I made it my mission to change that.
Being a handy DIY gal I wanted to see if I could sand the floors with my cute little mouse sander and then put down some fresh new stain.

My plan was to start in a corner of our sunroom, work in small sections and see how it goes.
When I shared a picture on social media about what I was up to, I was surprised at the mixed comments I received. Some people were very curious about how this project was going to turn out because they too would love to be able to makeover their own floors, but then some other people were somehow upset that I was going to attempt this project myself saying that I needed to “leave it to the professionals” and that I needed a “bigger sander” and I even got an “unfollow”.

So here’s the truth.
I wasn’t able to sand all the way down to the raw wood with my little mouse sander. However, I was able to sand off all of the heavy layers of the shiny protective finishing sealer, leaving me with some workable previous stained floors. So I just added some new stain right on top of the old.

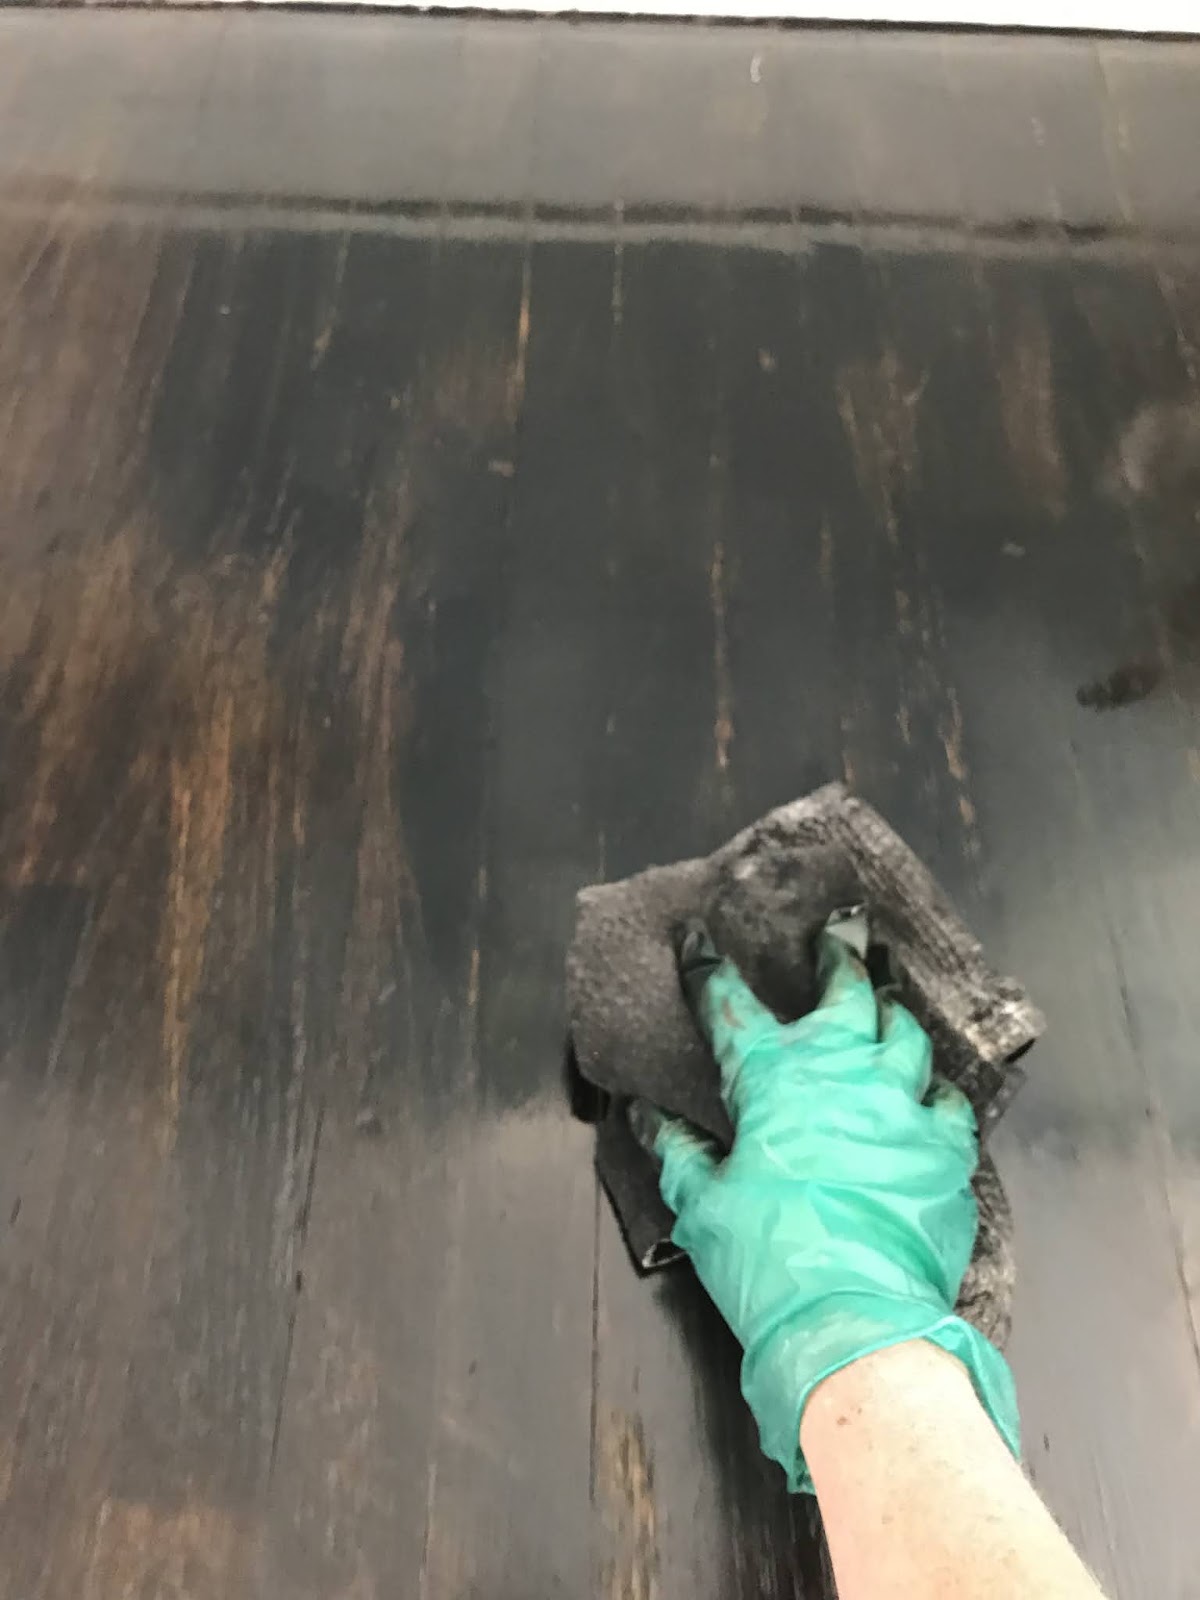
I went with the darkest stain I could find which was called Jacobean by Minwax. I brushed it on, let it sit for about 10 minutes and then wiped the stain off with a rag.
Once the stain was dried, I added a few coats of floor sealer and I was pretty pleased with the way it was all coming together. But then when it was time to move some furniture around…. the furniture scratched the floors!

Now these scratches could have been caused for a few different reasons. I may have needed to wait longer for the floors to cure before moving furniture around. I may have needed to add more layers of sealer. My furniture didn’t have any feet protectors on them and so it could have been scratching the floors all along anyway but I just didn’t notice. Or it could have scratched because I didn’t get the floors sanded to the raw wood prior to staining them. Truthfully, I still do not know why they scratched.
I ended up sanding off the top layer of sealer I had applied and then I added even more coats of stain leaving the floors nearly black. I sealed it and then let it all sit untouched for plenty of time to cure.
In the end I actually really liked the way that the floors looked. I wish I had a picture of my nearly black stained floors because they looked pretty and they were actually holding up just fine, So I was then ready to move on to do the other side of the room.
But at this time, I went searching in our garage for a bigger sander. Yes, All along, this whole time, there was a belt sander in our garage. I was just a little scared to use it because it seemed so heavy-duty 🙂 Also I really wanted to see if I could sand the floors with my mouse sander to prove to you all that it could be done….so to report, I’m sorry, I still don’t know for sure if the finale results of using a hand or mouse sander could be enough to get the job done. I mean, I think so, but I just can’t say how it would have held up over time.
so Anyway…
Lesson learned because once I figured out that the big heavy-duty belt sander hiding in our garage really wasn’t even scary at all to use, and it worked really well, in fact, it worked so good that I was able to strip the floors down to the raw wood really quick and easily.

So now that I had some beautiful raw wood floors I had a new decision to make. What color of stain should I do this time?
Now with the other side of the room still being the dark color, I soon realized that dark floors would be high maintenance. Just like owning a black car, dark floors show all the dirt.
I was also really loving the look of the lighter floors. At first I tried just adding a sealer to the raw wood floors but it still came out looking a bit orange. I also tried out some different paint colors mixed with water to create a white-wash and I tried out some other stain colors as well and so I really gave myself a lot of different options to pick from.
Here is a picture I took to Instagram asking my reader what they liked best.

Majority of my followers said that they liked the Walnut stain best.
But my heart was saying to go with paint.
I am really not that familiar with stain and I find it to be quite tricky to work with, whereas I love my Paint. I’m very familiar with paint and so I figured the smartest option would be to stick to what I know best. Paint!
After trying out different colors of paint mixed with water, like a white-wash using white paint and a grey-wash using a grey paint, what I ended up loving the most was a beige-wash that I created with mixing a beige-colored paint with water.

The reason for mixing the paint with water is that it goes on very lightly allowing the grains of the wood and the lines of the boards to still show through.

I held up a piece of driftwood next to the newly painted floor and I found it was almost a perfect match. This totally made my day because I love that beach-house look. 🙂
Most of the time when you buy a “driftwood” stain it turns out really grey and it sometimes will have purple undertones in it, so even if you arn’t looking to stain your floors, this beige-wash could be used on any other wood projects that you may be working on to achieve a real driftwood look.

Once I was perfectly happy with the color, I added a couple of coats of sealer to the top.
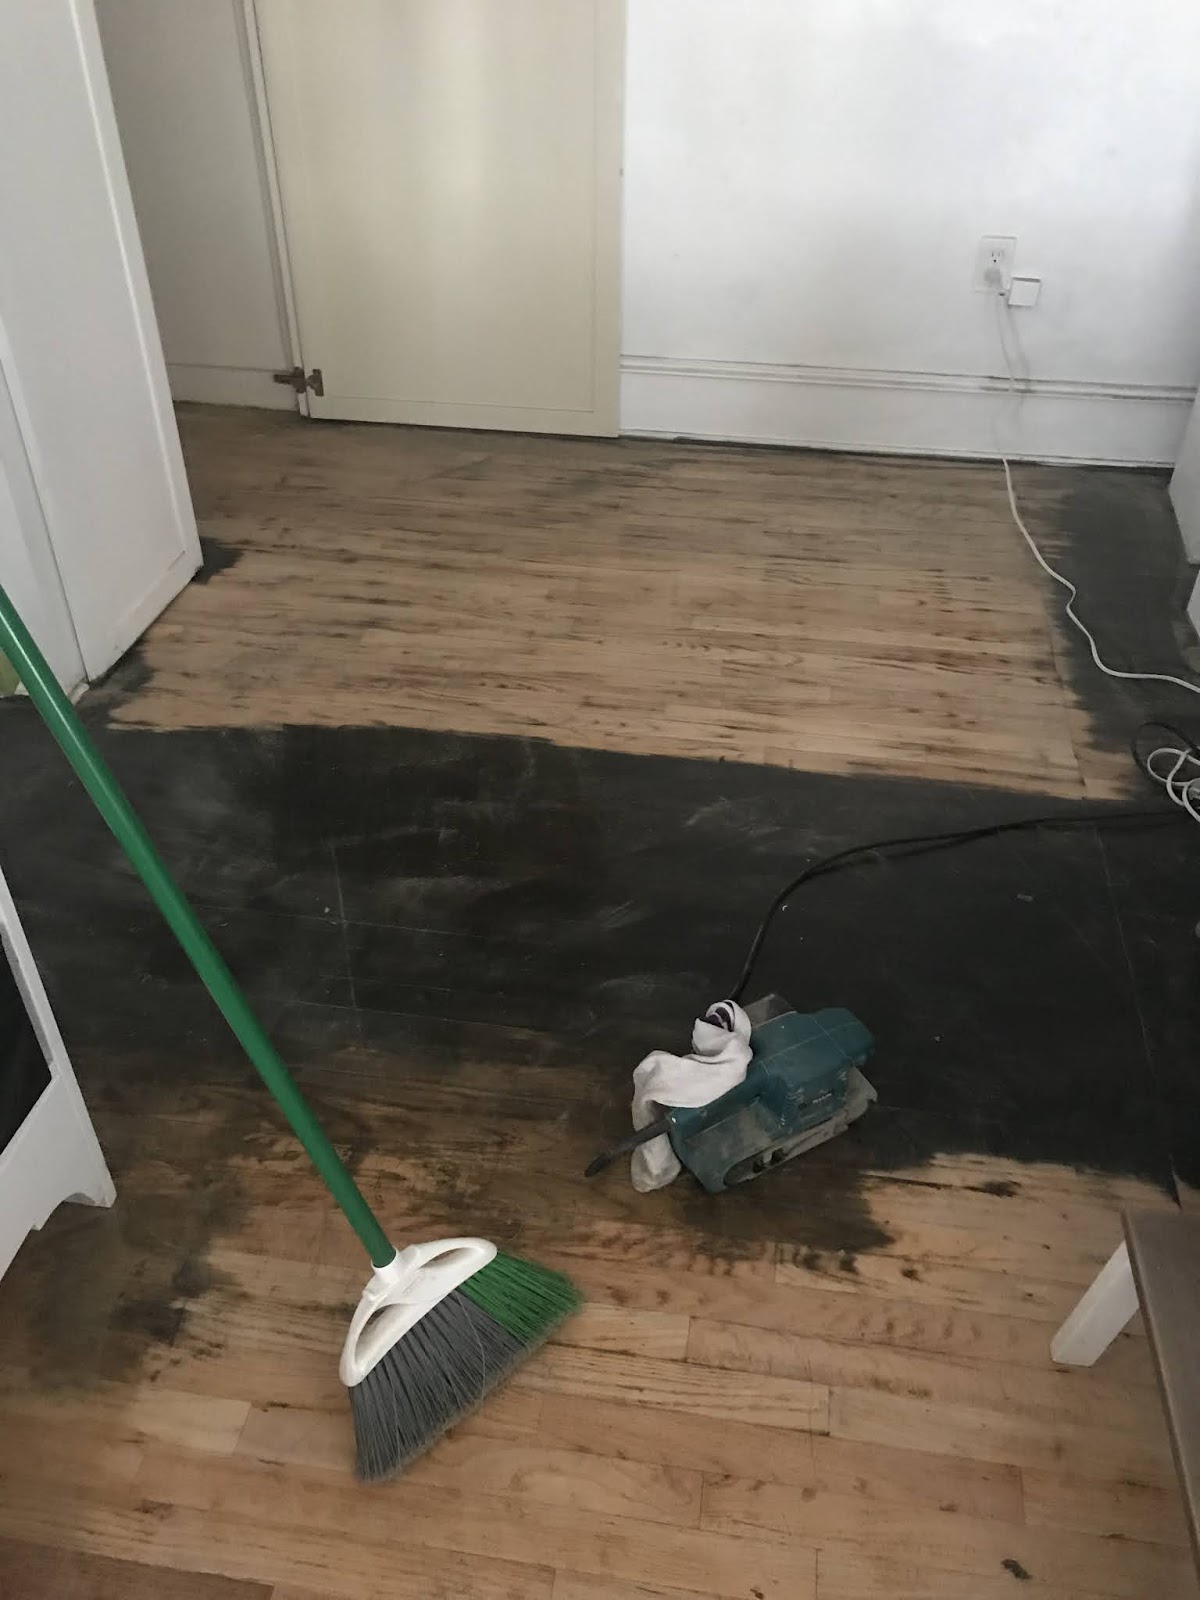
But remember, this was just half of the room, I then had to re-sand off all of the dark stain that was still on the other side of the room.
It was a lot of work and Very Very Dusty and Dirty!
As you can see, this was an unnecessary long process of finishing my floors. Had I known what sander, sandpaper, paint, and sealer to use in the first place then this project would have been finished forever ago.
But that’s why I’m sharing this whole process with you. So that you can learn from my really bad and my really awesome choices.
LoL
So stick around for Part 2 where I show you Step by Step How I did it all. I’ll also be sharing all of the different products I used as well.
All in All, Now that I’m finished, I’m SO Happy with the results and my husband is SO Happy that the Orange Gym Floor is gone……Well at least in the Sunroom….. for now.

Because I’m now moving on to do the rest of the house.
Yup! Because I’m kinda a pro now.
🙂
So what do you all think?
Are you inspired or are you going to Unfollow me?
Ha!
Thanks for stopping by,
Emily


Yes you can put a 40 grit on it and 'rough up' some small areas, but if you plan on sanding your wood floors by hand with this sander then you had better clear your calendar. contact us