I made these awesome throw pillows over the weekend and I think that they turned out Super Rad!
They were so fun and easy to make and so I wanted to quickly share with you How to make a throw pillow out of a t-shirt.
For this project you will need a sewing machine, a pair of scissors, a 18 X 18 or 20 X 20 pillow insert and a Men’s Large or X-Large T-shirt.
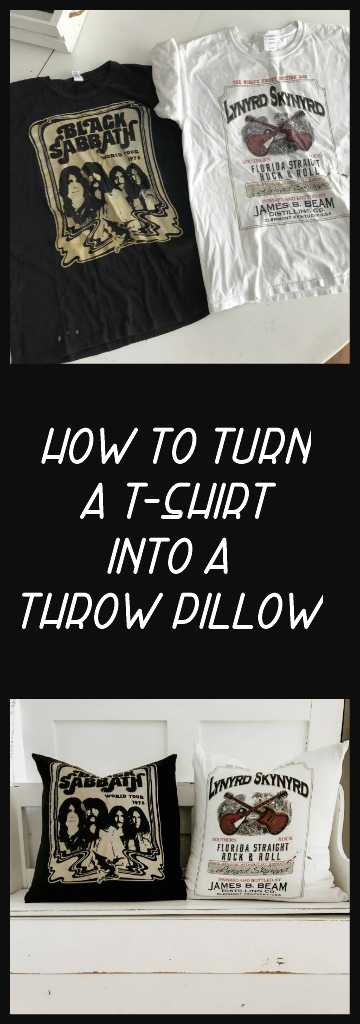
I picked up these cool rock t-shirts at a yard sale and I knew right away that I wanted to turn them into throw pillows. These are a couple of classic rock bands that I love and I thought they might be really cool to decorate our home with, and especially to throw in with my Halloween decorating.

So for these throw pillows, I first figured out how to make them on the white Lynyrd Skynyrd T-shirt So with that pillow being my practice one, I then tweaked a few things to show you this how-to with the black Black Sabbath T-shirt.
STEP 1.
Lay out flat a Men’s T-shirt on a hard surface like a table and smooth out any wrinkles.

Step 2.
Starting at the top of the sleeve, cut a straight line down the whole Left side of the t-shirt
Repeat on the Right side. I’m working with a size Large, I’d recommend cutting just a tad bid more if you are using an X-large T-shirt.

Step 3.
Cut a straight line across the top of the t-shirt just below the neck.

Step 4.
Cut off a few inches on the top layer (front side) at the bottom of the shirt. Do Not cut the bottom layer (back side)
*Mostly you want the image on the front to be center, so this may determine how much or how little you cut off. But keep it within 2-4 inches for a Large or 3-5 inches for an X-large.

STEP 5.
Set the top layer (front of shirt) aside and fold in half the bottom layer (back of shirt)
Cut in half at the center fold.

So it should look like this:

Step 6.
Now lay the front of the shirt down flat with Print facing up.
Next place the two halves that you just cut on top of it. The two halves will overlap each other.

When placing the back two halves on top of the front of shirt place down the half that has the bottom seam first and facing in. This will create a cleaner look on the back of the pillow when you are finished.

Step 7.
Pin into place and Sew
T-shirts have a tendency to move around and shift a bit, so try to get it lined up the best that you can first. Now Sew around the full square Leaving under an inch as allowance.

STEP 8.
Once you have it all sewed you will inside it out from the slit in the back.
Now you can add your throw pillow. I used a 20 X 20 Down filled pillow insert. I think that a
18 X 18 would have fit as well. I prefer Down filled over Polyfill because I think that it looks better and is more comfortable to lay on. But that is just my personal preference.

Notice how clean-edged the back of the pillow looks by placing that bottom seem facing in.
This is something that I didn’t do on the first pillow that I made, but it really makes the pillow look so much nicer.
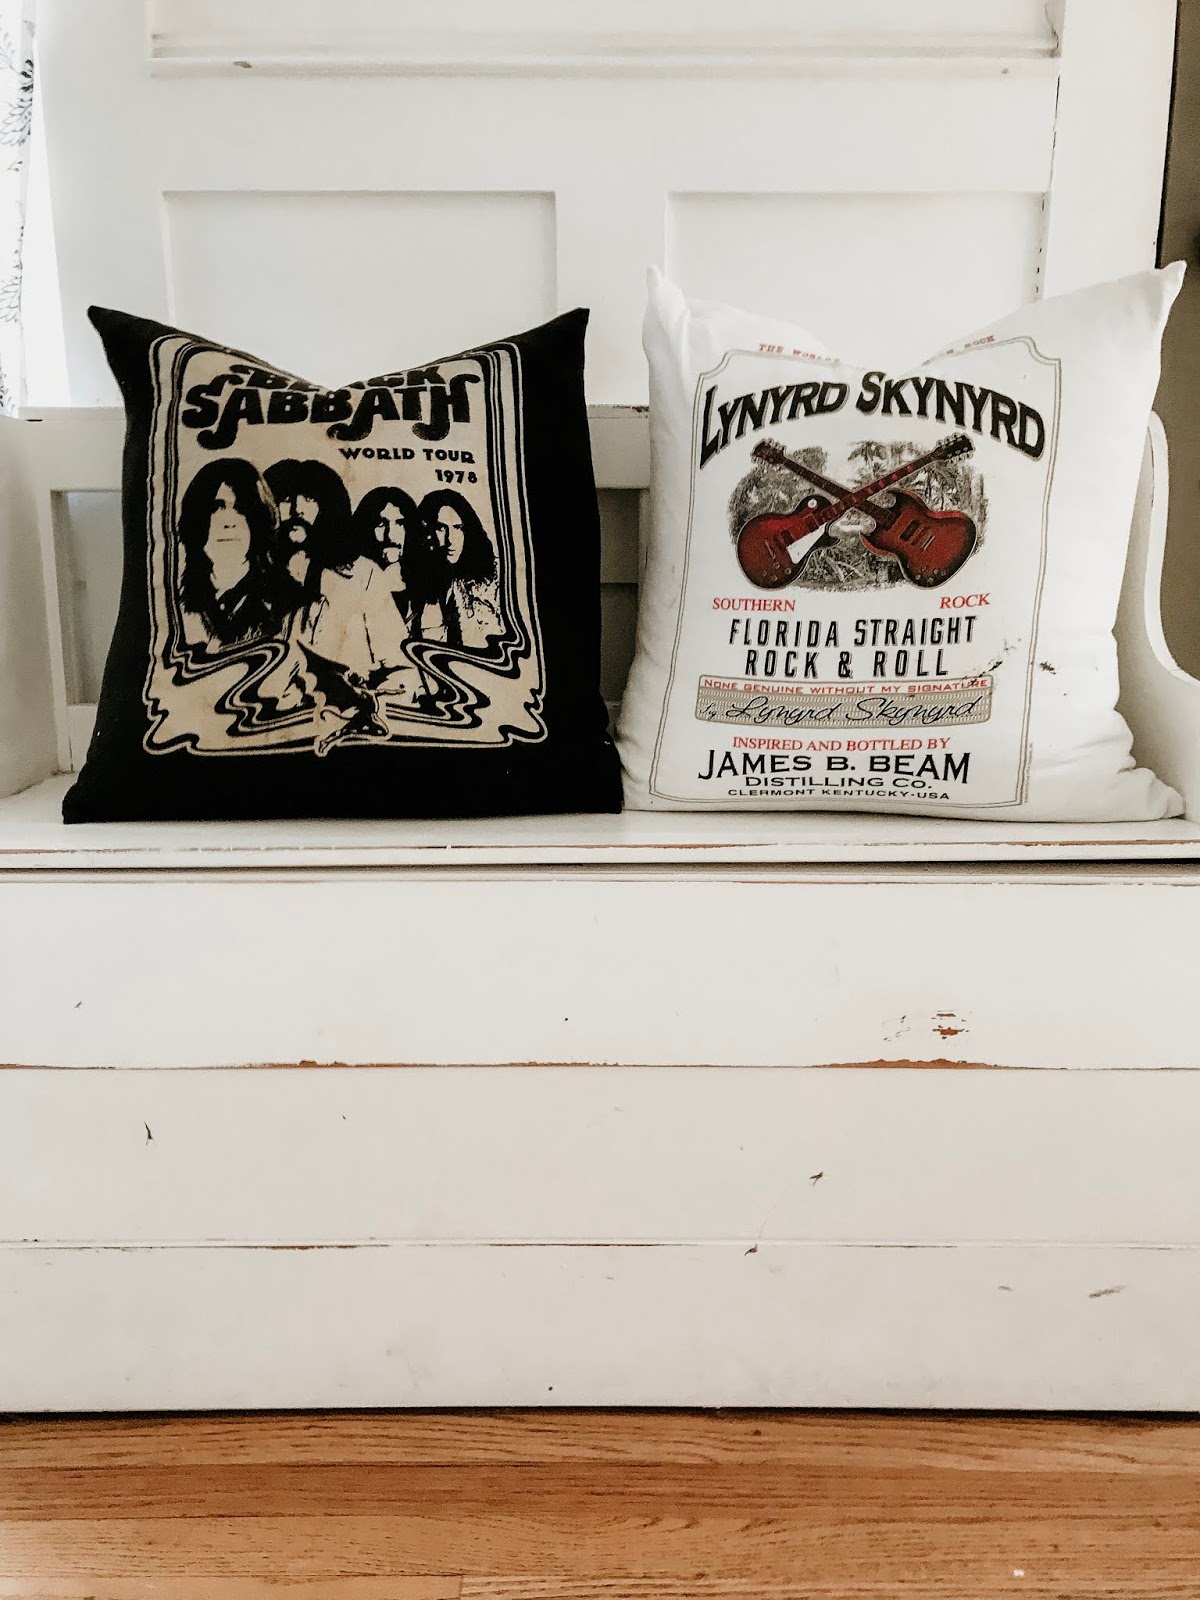
And Here is how my new pillow turned out!

And Here is how the first pillow turned out:

Arn’t they Awesome!
I think so. My boys did not think they were cool, but that’s okay, I can’t always impress them. LOL
I placed my new rock pillows on a bench in our entryway for now, But you’ll have to wait to see where I use them for my Halloween decorating. I don’t know why, but I just think rock n roll and black sabbath feels really fitting for Halloween for some reason. You too?

So do you have any old t-shirts laying around that you think would look amazing as throw pillows?If so, then I hope that you will follow my simple steps and make one for yourself.
What do you think? Any questions about anything? Let me know in a comment below or come chat with me on Facebook and/or Instagram.
If you like the type of decor that I share, then be sure to check out my SHOP MY FAVORITES Page. I keep it updated with all of the fun Coastal, Cottage, and Farmhouse Decor that I come across on a daily basis. I personally want EVERYTHING that I have listed there.
You can also Check out my Amazon Page HERE. It too is full of all sorts of favorites.
Thanks for stopping by,
Emily
P.S. If you liked this post, would you do me a favor? Will you Pin it to one of your Pinterest boards? This helps other’s see the post as well. You can pin the image below or any of the images from this post. Just hoover over the picture until you see the PIN IT button.
Thank you so much!