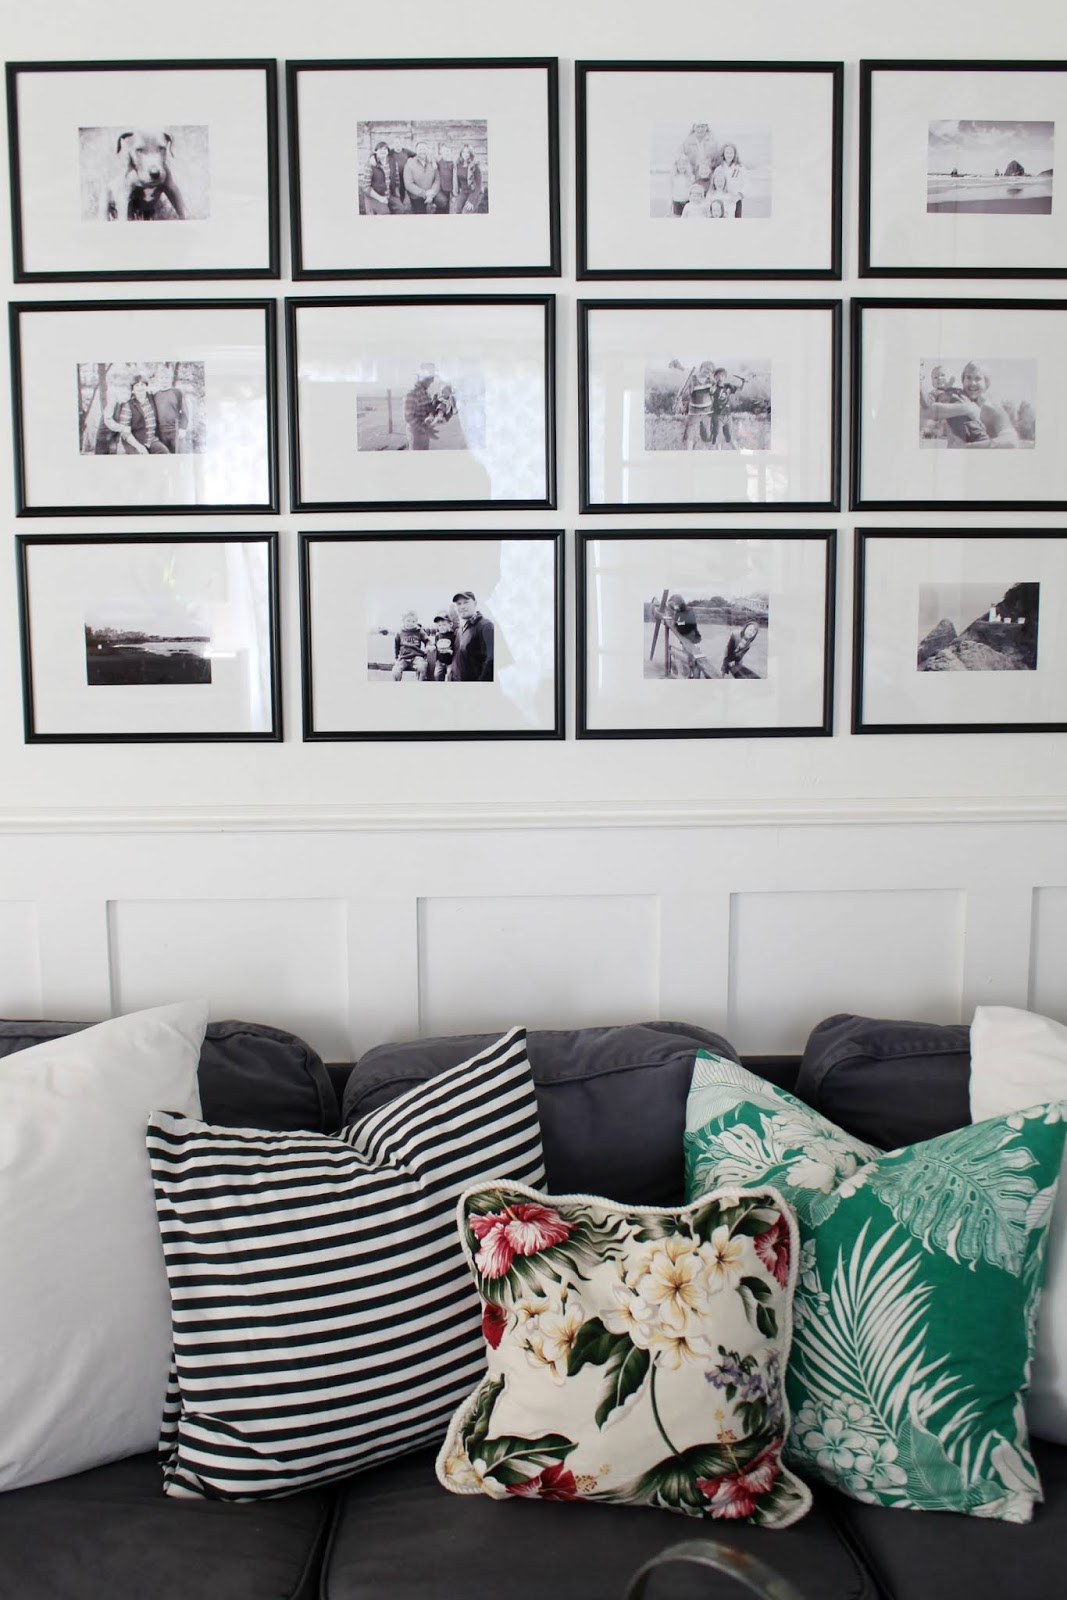
The wall above our living room sofa had been bare for a little while as I decided on what to hang up on it. This is a wall that I like to change up often and it took me awhile to figure out what to do with it next. Then one day I was reminded of the gallery wall that My Sweet Savannah has hanging in her living room, which I have admired for such a long time now, and so I was instantly inspired to try to mimic the look of hers.

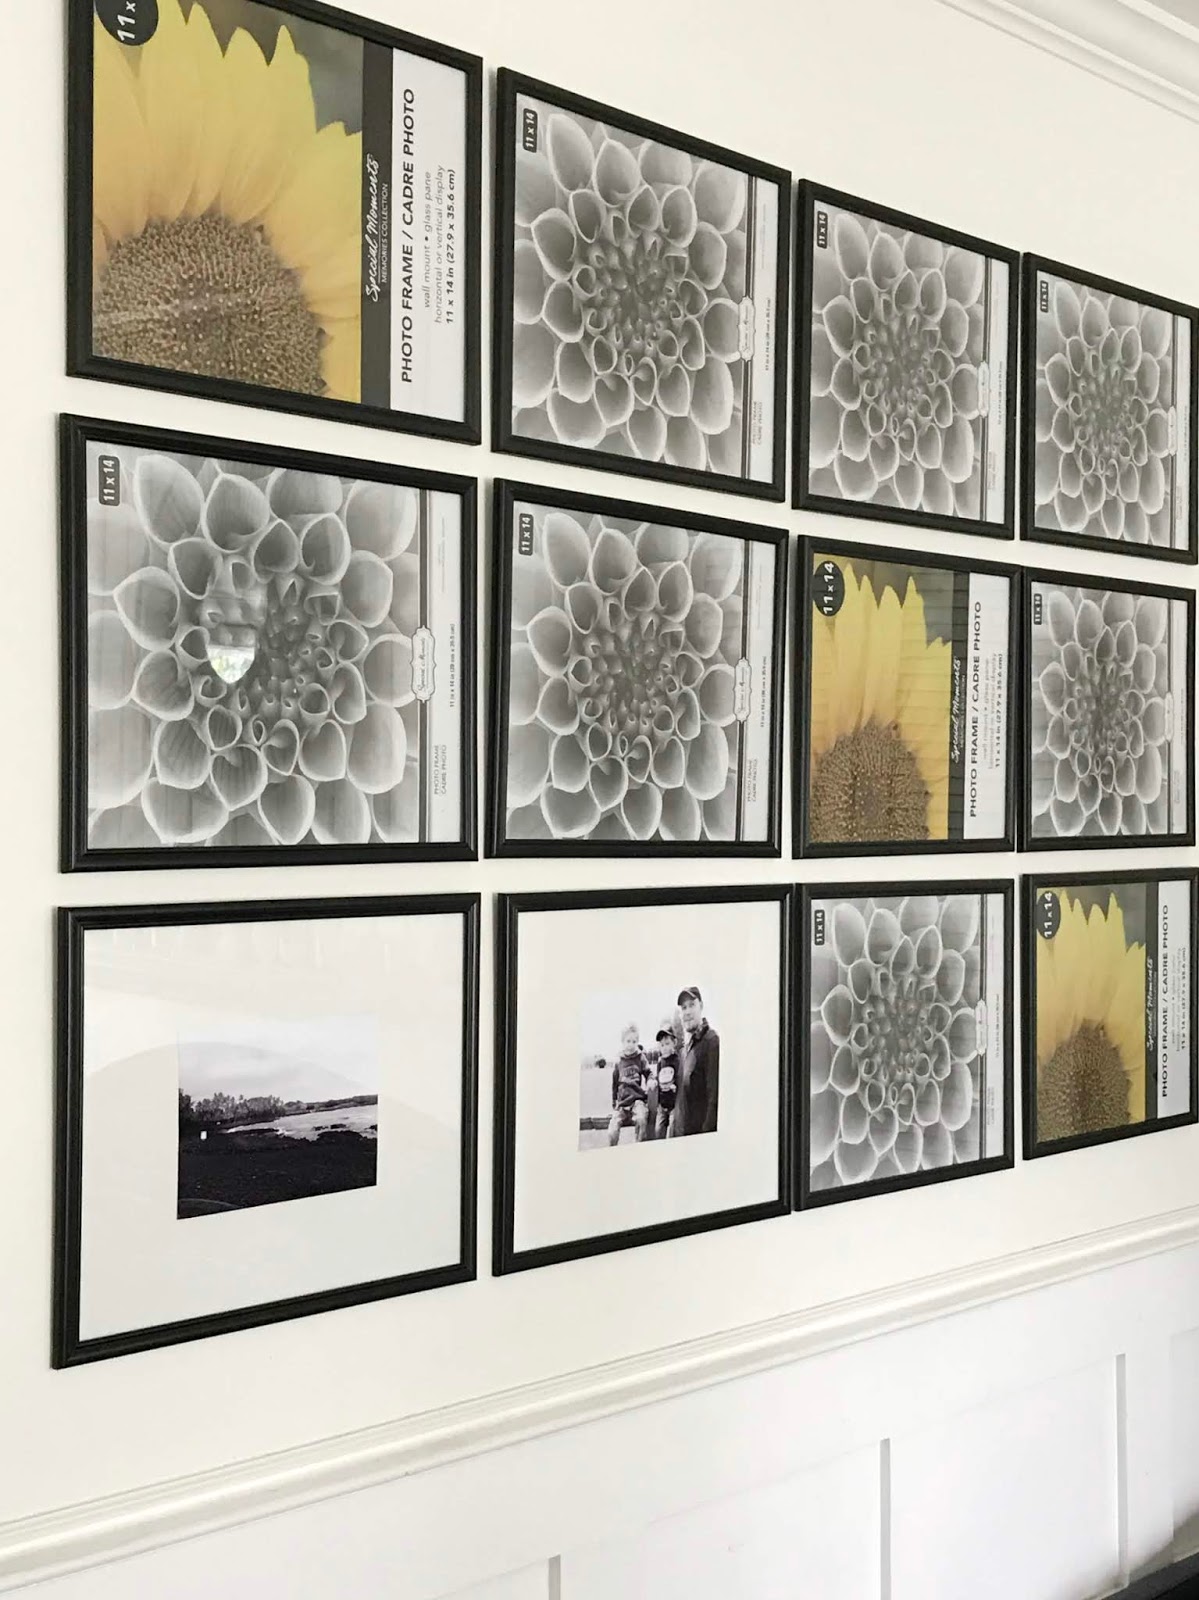
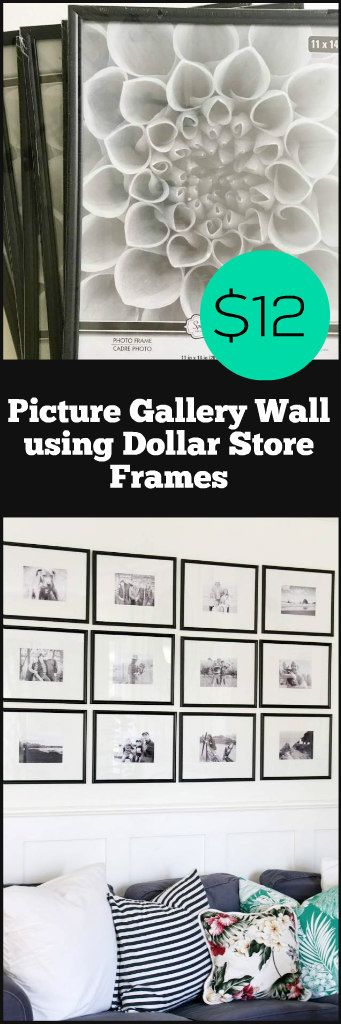
I purchased twelve 11×14 black frames from our Dollar Tree. While I was at the dollar store I also picked up four poster boards to use for picture mats.

I know that hanging picture frames can be a bit intimidating to some, but nail holes have never been one to stop me 🙂 I first measured my wall to decide on a center point and then I hung up my first frame. I then used that first frame as a guide. I used a ruler and a level to hang up all of the other frames surrounding it. I mostly just eyeballed the whole thing, making sure the frames had equal distances between eachother and that they were level in a straight line. In the end it may not be super exact, but it is good enough for me.
Once I had the frames hung, I then took them down one by one to add a picture to it.
I traced the glass of the frame onto the poster board and cut it out. I was able to cut three mats out of one sheet of poster board. There is a glossy or a matte side to the poster board and I used the glossy. Also, just a random note, take off all jewelry when working with this poster board because it does tend to get scuffed up easily.

I gathered up twelve of my most cherished pictures, edited them to be black and white, and then rotated them to be horizontal. I sized the pictures to a 5×7 and printed them out.
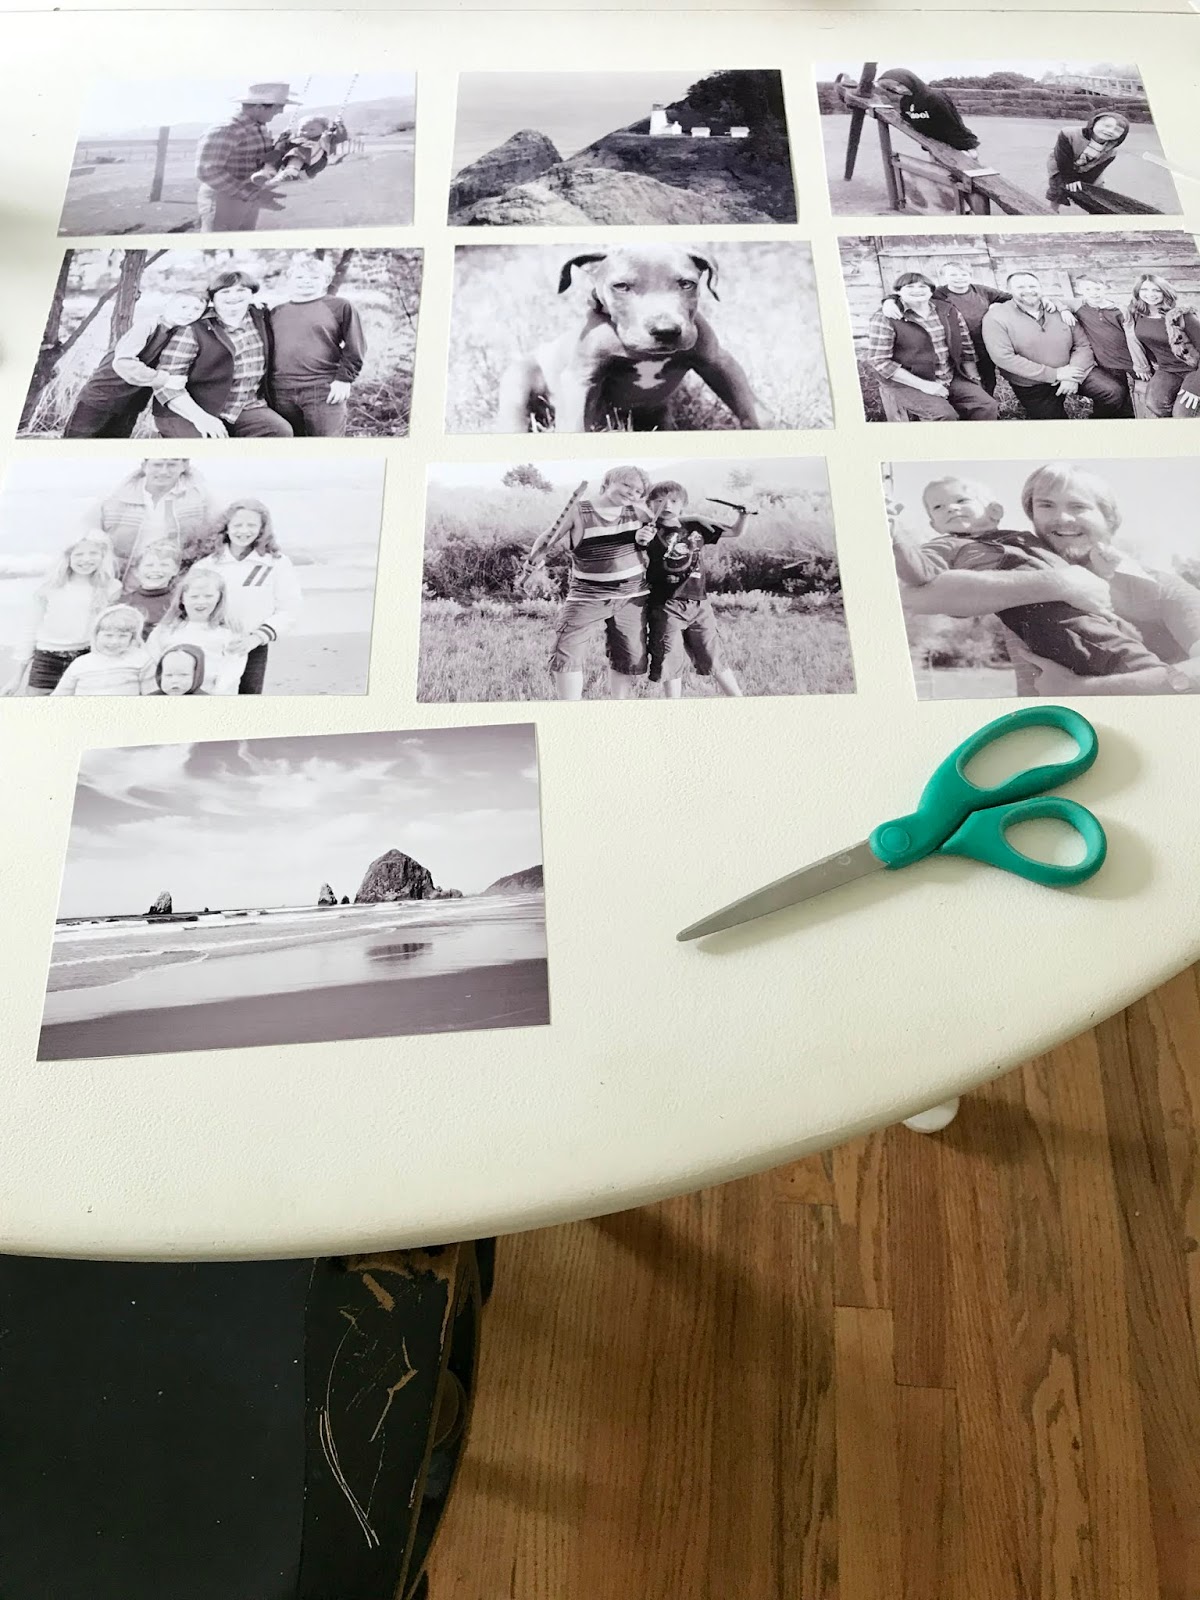
To make sure that the pictures were centered on the mats, I used a ruler to find the center of the back of the picture and made a dot, I then measured to find the center of the poster mat and made a dot. I added Elmers glue to the back of the picture and then attached it over the connected dots.
I liked using Elmers glue because it allowed me to slide the picture around making sure it was perfectly straight before pressing it into place.

I am so happy with the way that my picture gallery wall all came together. It didn’t cost much at all to create and it makes such a great impact to this living room wall.
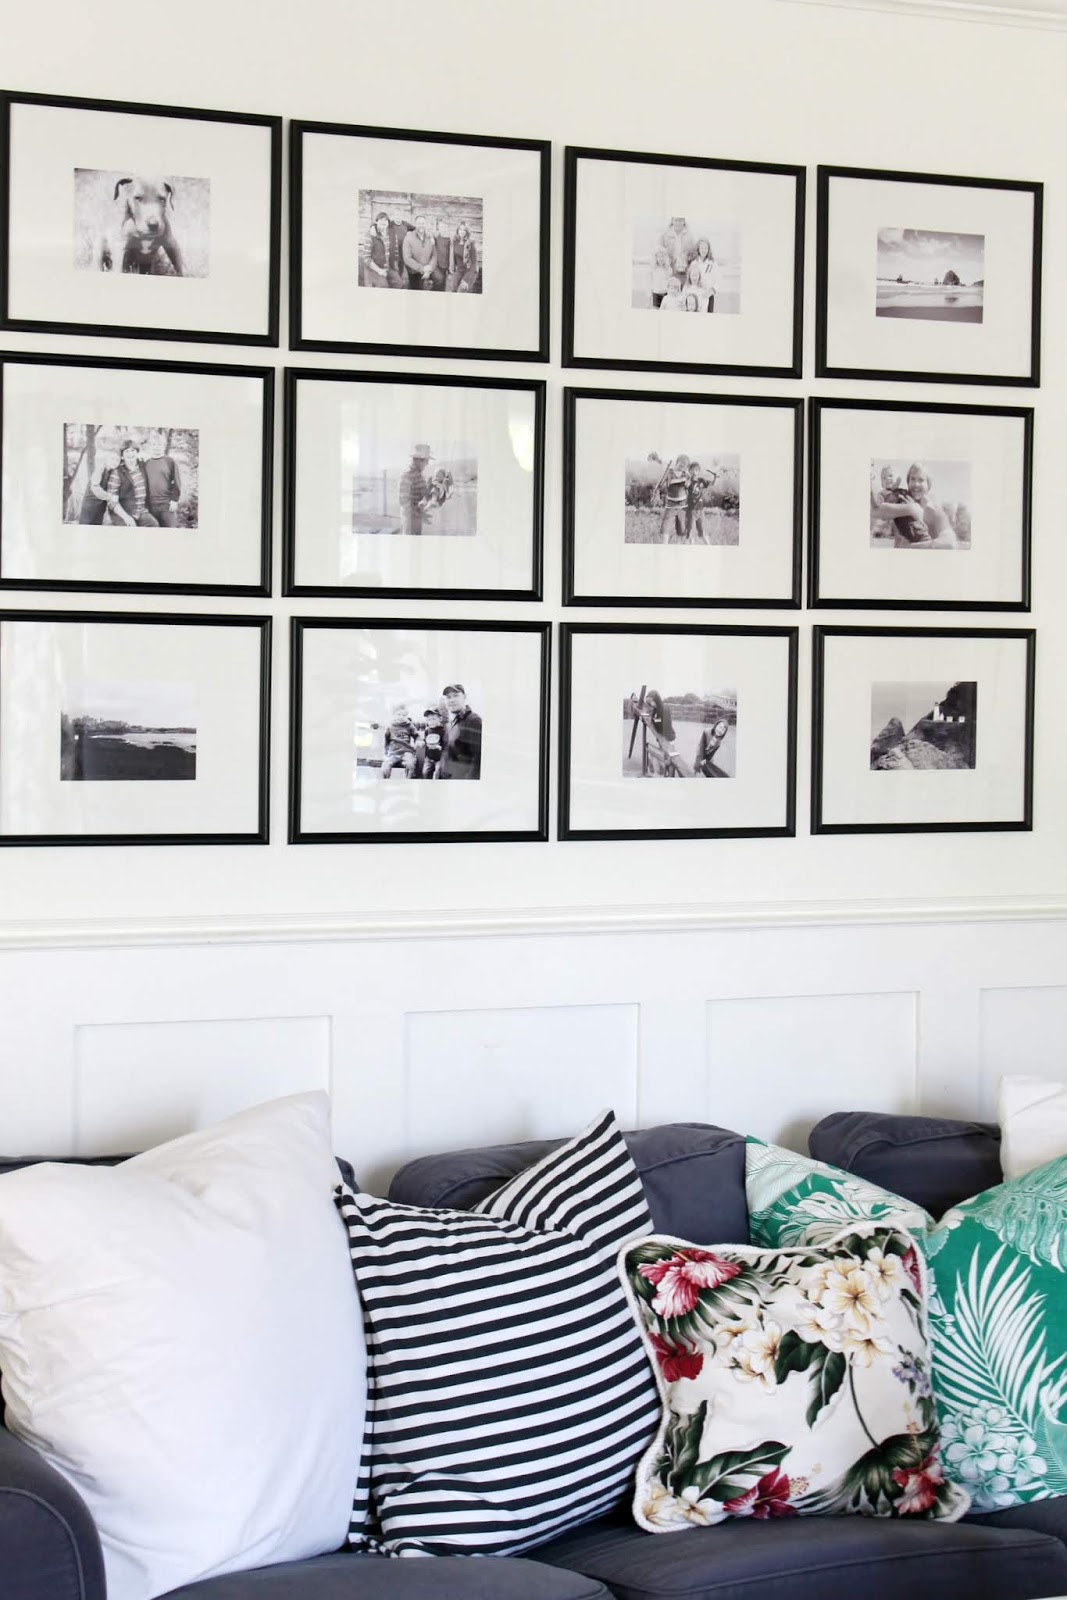
Out of all of the different things I have had hung up on this wall before, these frames are definitely my most favorite look of all.
I also love that I now have some of my most favorite pictures ever up on display.
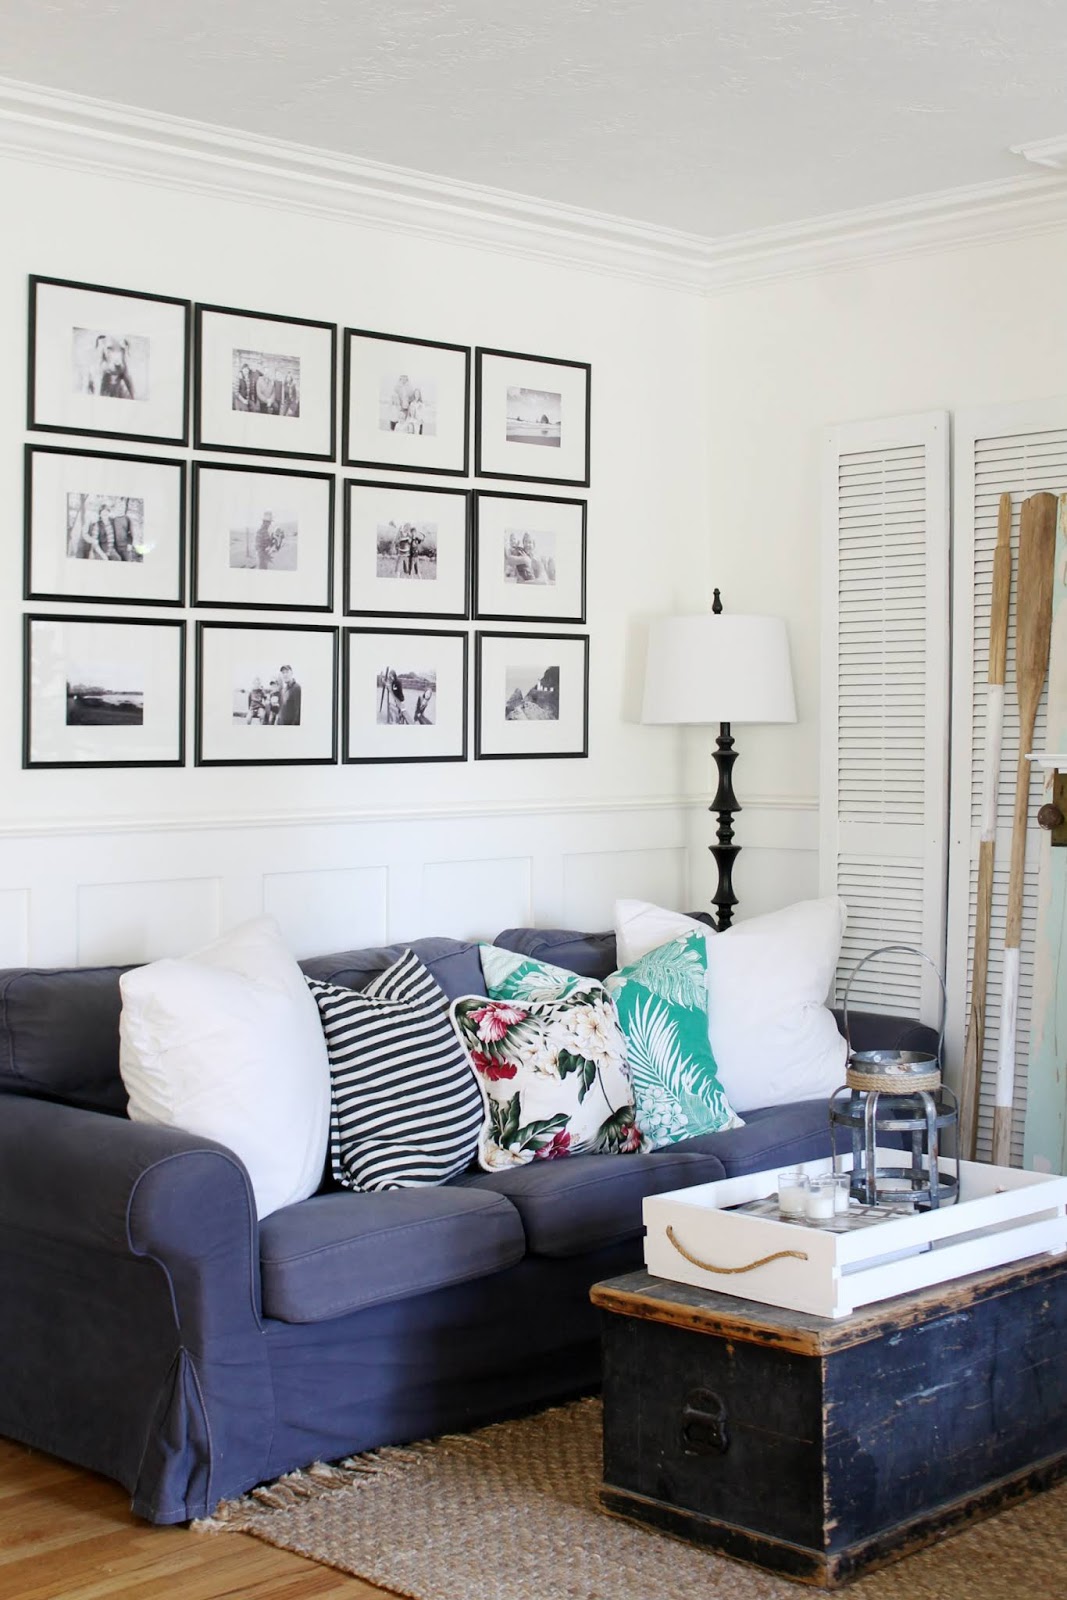
I plan to get some of that poster tack stuff to hold the frames into place because they have a tendency to want to tilt. But other than that I’m so pleased with the frames and I’m sure I’ll have them hanging for quite some time now.
So what do you think?
Thank you for stopping by today,
Emily
Pin it for later!


Lovely finished look, and so personal!
I love your pictures! Wall looks Great!